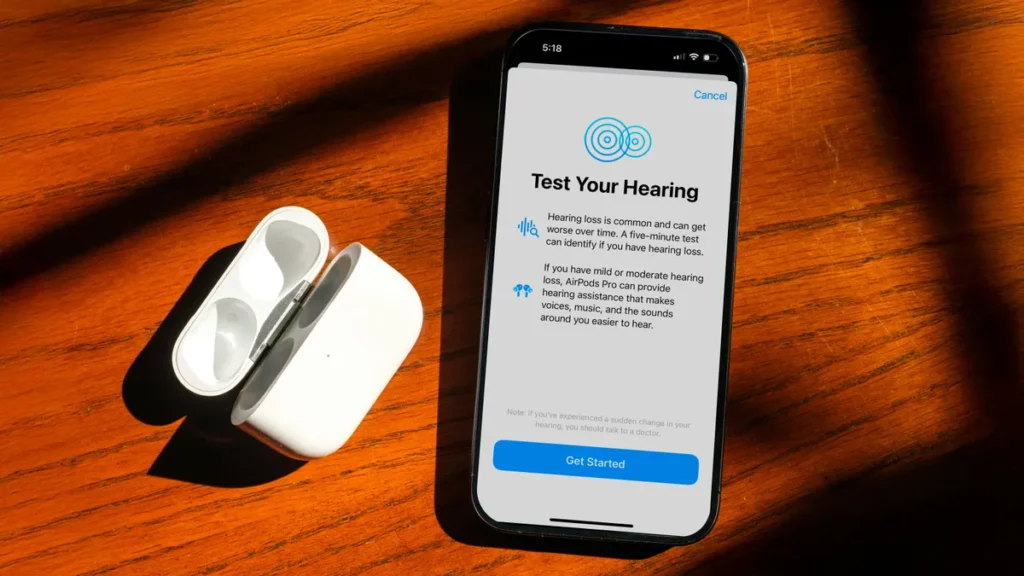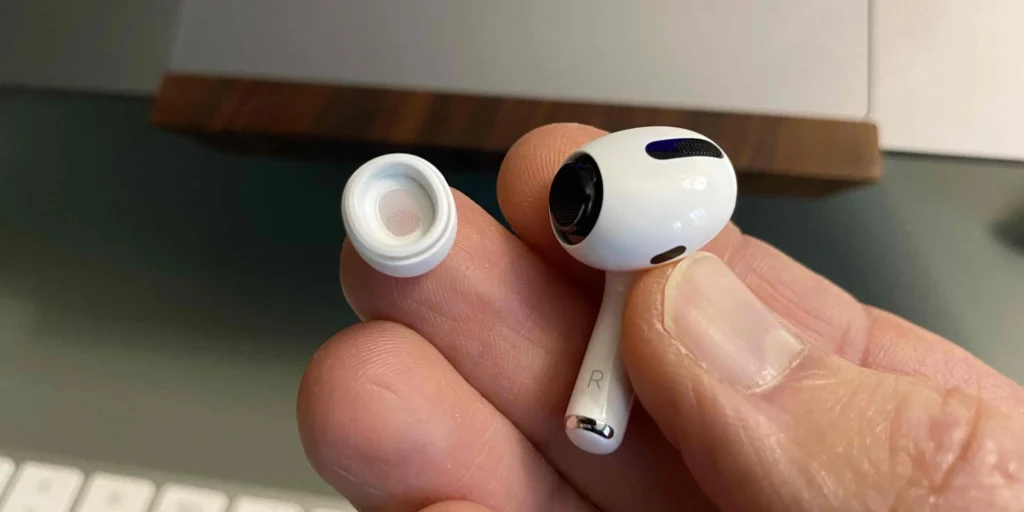
If you’re having trouble hearing clearly or want to personalize your AirPods or headphones to your unique hearing needs, your iPhone has built-in tools that can help. In this guide, we’ll show you how to take a hearing test and activate the Hearing Aid feature on your iPhone, step by step. Whether you’re using AirPods, Beats, or other supported headphones, this is an easy and powerful way to boost your audio experience.
What Is the iPhone Hearing Aid Feature?
Apple offers a feature called Headphone Accommodations, designed to enhance soft sounds and adjust certain audio frequencies for your hearing. This is especially useful for people with mild to moderate hearing difficulties.
You can even take a hearing test and use those results to create a personalized audio profile for your device.
Step-by-Step: How to Take a Hearing Test on iPhone
Option 1: Use the Built-In Audiogram (From Apple Health)
- Open the Health app on your iPhone.
- Tap Browse → Search for Hearing.
- Tap Audiogram → Import an existing hearing test if you’ve done one with a health provider.
- Once added, your iPhone can use this audiogram to optimize sound output.
Option 2: Use the Mimi Hearing Test App
If you don’t have an audiogram:
- Download the Mimi Hearing Test app from the App Store.
- Follow the on-screen instructions to complete the test (takes about 5–10 minutes).
- Once finished, tap “Save to Health” to export the audiogram to your Apple Health data.
How to Turn On the Hearing Aid Feature (Headphone Accommodations)
Once your audiogram is in the Health app, follow these steps:
- Open Settings on your iPhone.
- Tap Accessibility → then Audio/Visual.
- Tap Headphone Accommodations.
- Toggle the switch to ON.
- Tap Custom Audio Setup.
- Choose Use Audiogram or manually adjust the settings for voice, music, or phone calls.
Apple will now optimize the audio output across supported devices (like AirPods Pro, AirPods Max, or Beats) based on your hearing profile.
Bonus Tip: Live Listen – Turn Your iPhone into a Microphone
Another amazing accessibility feature is Live Listen, which turns your iPhone into a remote mic and sends sound directly to your AirPods or Beats.
Here’s how to enable it:
- Go to Settings → Control Center.
- Tap the + next to Hearing.
- Open Control Center and tap the Ear icon.
- Tap Live Listen to turn it on — now your iPhone will capture nearby sounds and send them to your headphones.
Why Use Hearing Features on iPhone?
- Enhanced clarity for calls and media
- Personalized audio tuning
- Early detection of hearing loss
- Improved quality of life and communication
Apple’s hearing tools are powerful and user-friendly. Whether you’re just curious about your hearing health or need help understanding speech more clearly, the iPhone can act like a basic hearing aid when combined with AirPods and accessibility settings.
If you want better sound clarity without the cost of traditional hearing aids, this is one of the best solutions available today.

