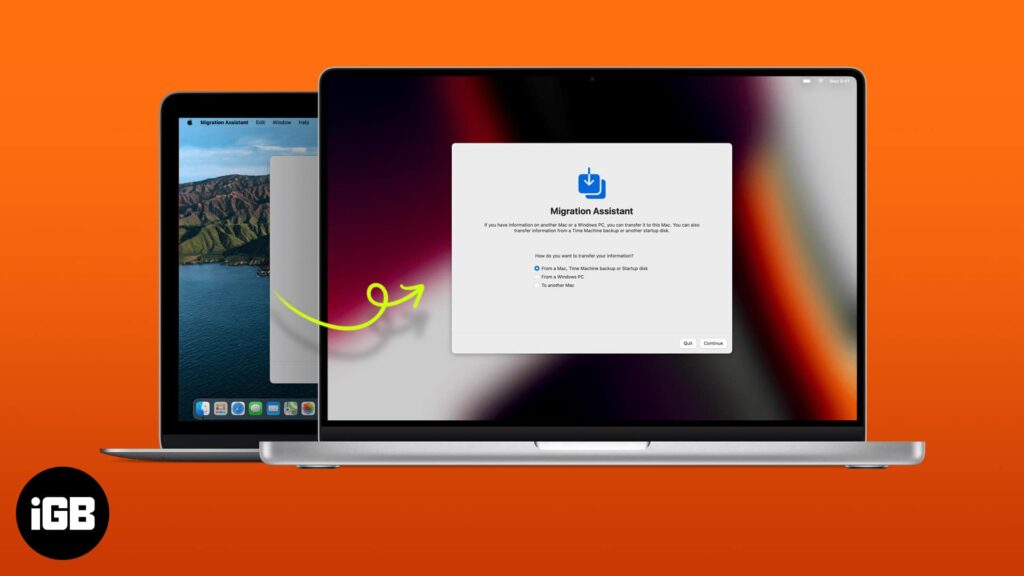
Upgrading to a new Mac? One of the easiest ways to move your files, apps, settings, and user accounts is by using Apple’s Migration Assistant. Whether you’re setting up a MacBook, iMac, or Mac Studio, this built-in tool makes the transition seamless.
Below is a step-by-step guide to help you transfer data from your old Mac to your new one.
What You’ll Need:
- Both old and new Macs
- Power adapters (if using laptops)
- Wi-Fi network (or a Thunderbolt/USB-C/Ethernet cable for faster transfer)
- Latest macOS updates installed on both devices
Step-by-Step Instructions:
Step 1: Connect Both Macs
- Place both Macs side by side and connect them to the same Wi-Fi network.
- For a faster, more stable transfer, use a Thunderbolt, USB-C, or Ethernet cable.
Step 2: Open Migration Assistant
On both Macs:
- Go to Applications > Utilities.
- Open Migration Assistant.
- Click Continue.
- You may be asked to enter your admin password.
Step 3: Prepare the Old Mac
On your old Mac:
- Select “To another Mac” when asked how you want to transfer data.
- Click Continue.
Step 4: Set Up the New Mac for Transfer
On your new Mac:
- Select “From a Mac, Time Machine backup, or startup disk.”
- Click Continue.
- Your new Mac will search for available sources. When your old Mac appears, select it and click Continue.
Step 5: Choose What to Transfer
- You’ll now see a list of what can be transferred: Apps, User Accounts, Documents, Settings, etc.
- Check the boxes for everything you want to move.
- Click Continue.
Tip: You can deselect large apps or files if you want a faster transfer.
Step 6: Begin the Transfer
- Migration Assistant will begin transferring the data.
- Depending on the size of the files and your connection method, this may take anywhere from 30 minutes to several hours.
- Once complete, your Mac will restart.
After the Transfer:
- Log into your account on the new Mac.
- Verify that all your files, applications, and settings are in place.
- Reauthorize any apps that need it (e.g., Adobe, Microsoft Office).
- Run Software Update to ensure everything is up to date.
Bonus Tip: Backup First!
Before starting, it’s smart to create a Time Machine backup of your old Mac—just in case anything goes wrong.
